
Day 204, Hatches covers, Cabin table, sealing fixed windows screws,fixed windows trim, hatches wells painting.
Deck
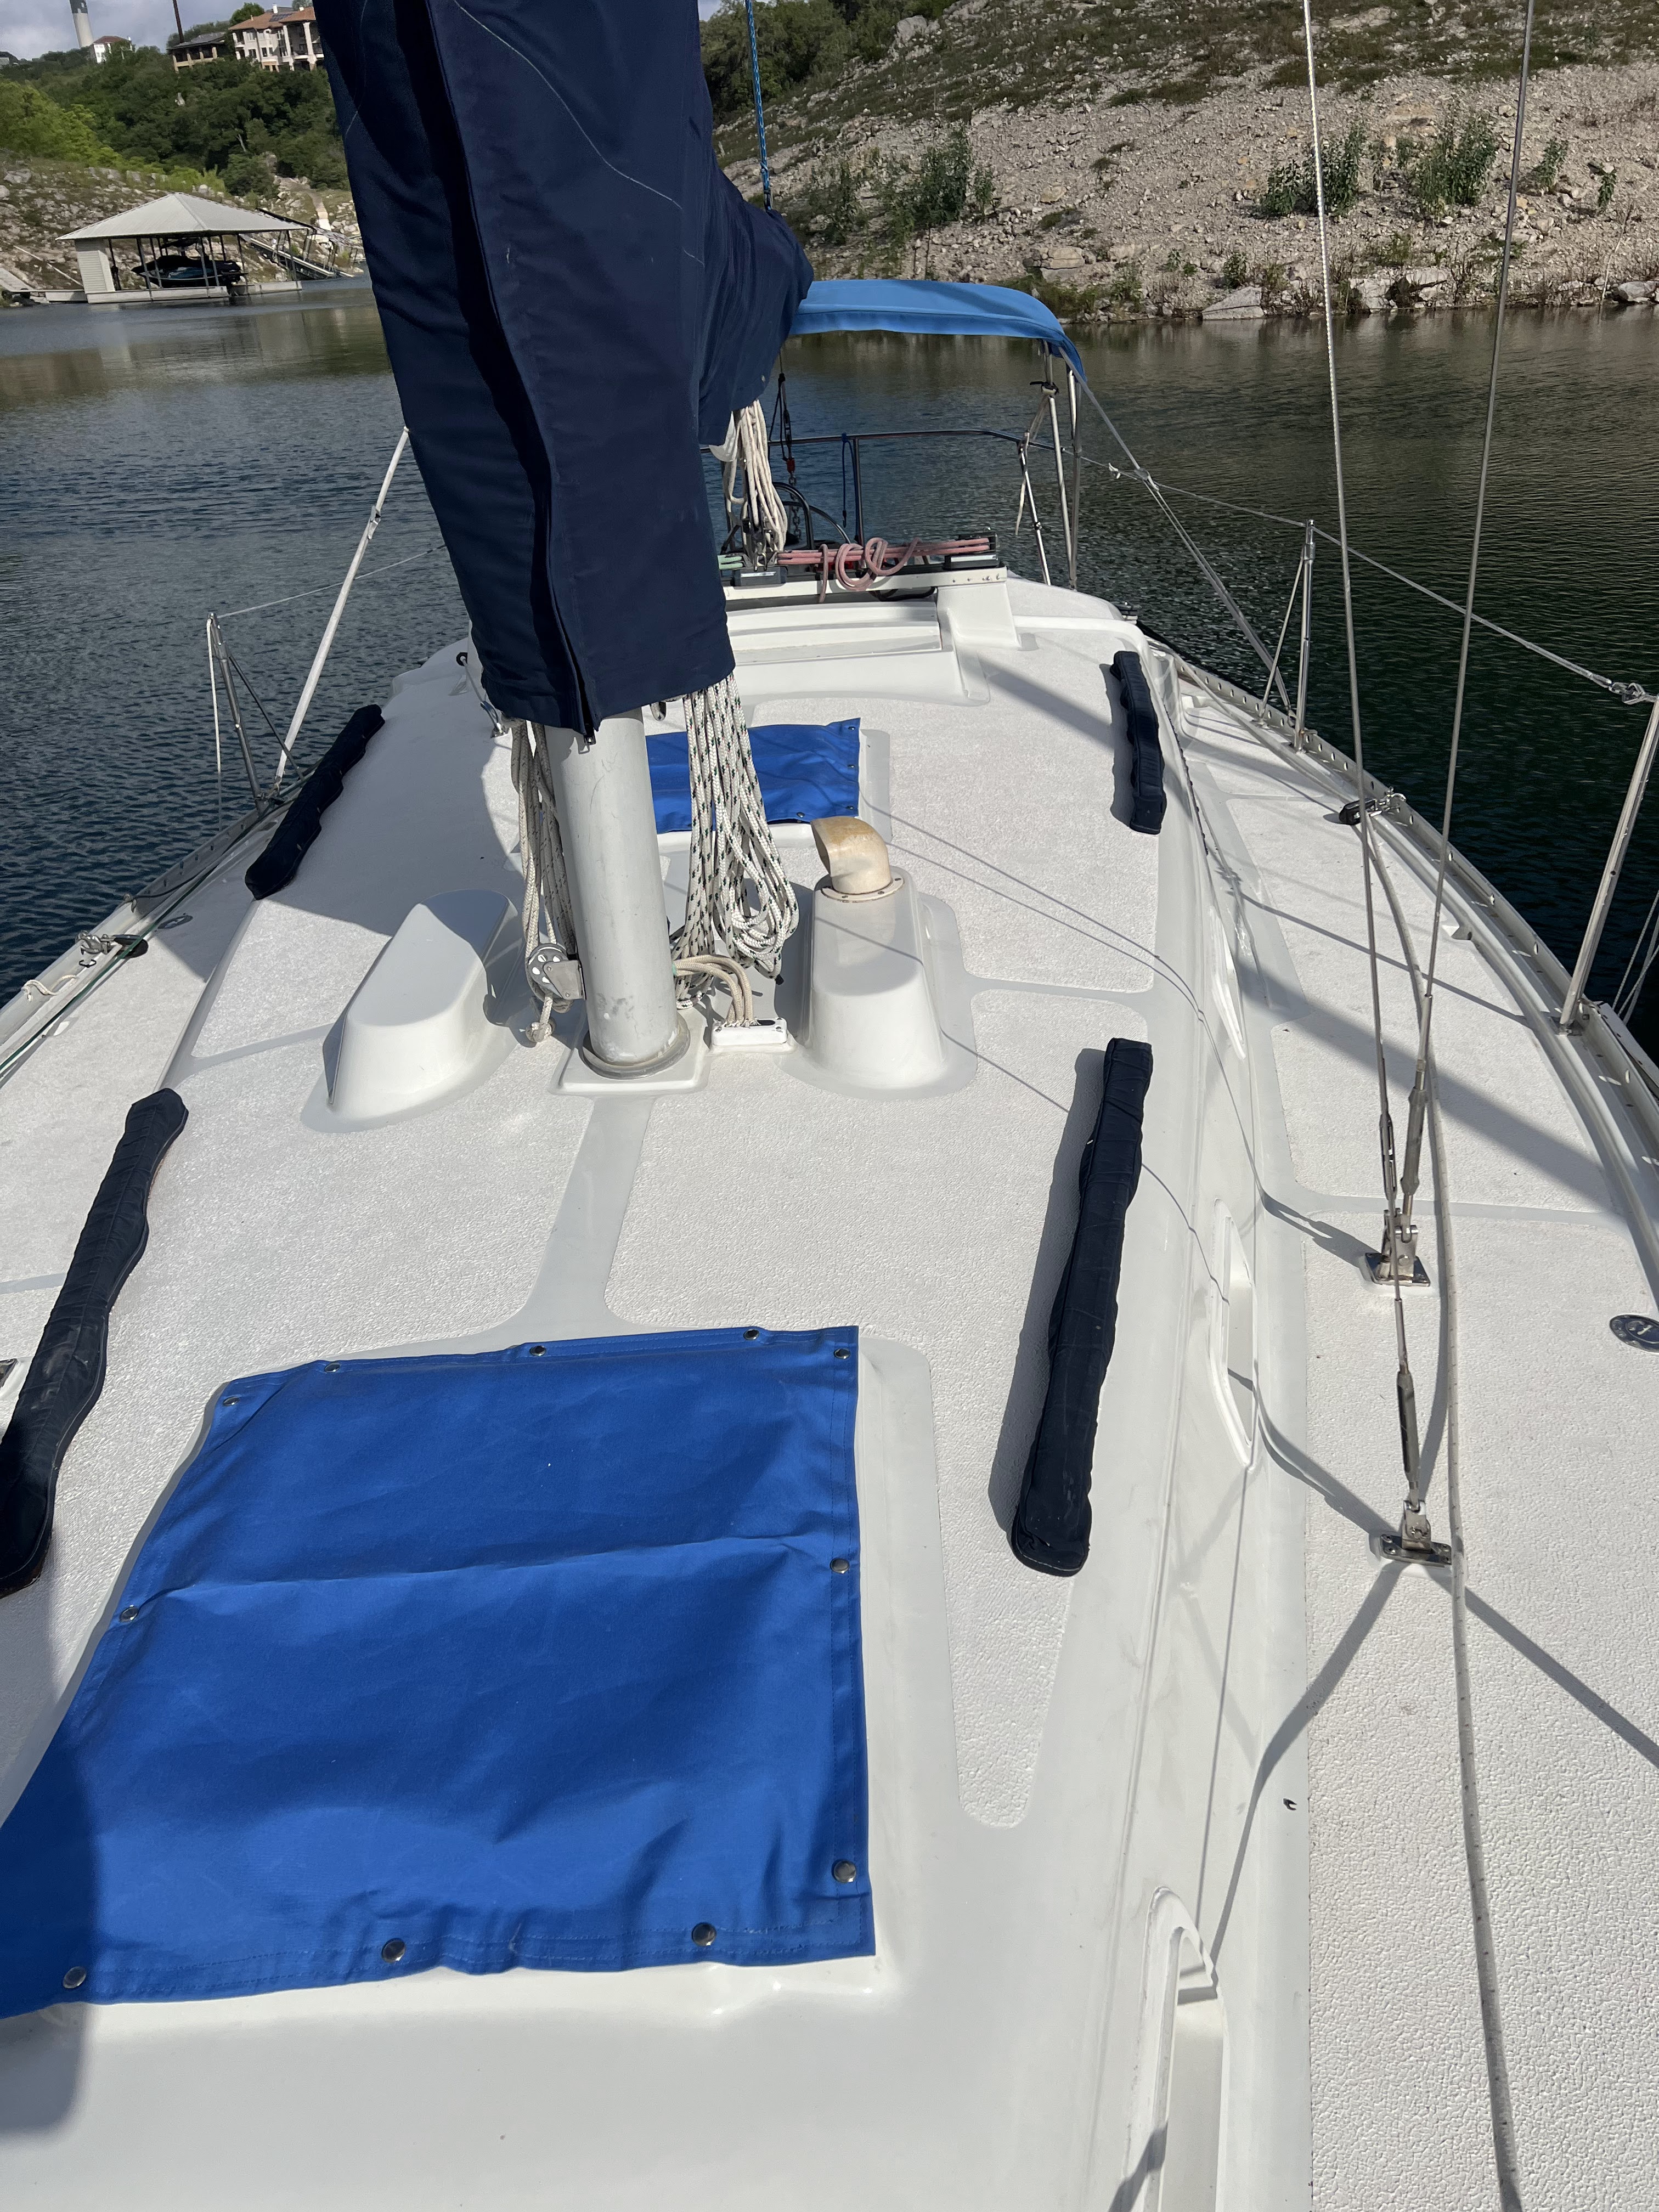
Hatch covers snaps installed. yes, I bite bullet, and drilled deck and installed snaps for hatch covers. Unfortunately it may lead to minor leakages after years, but i want to add covers to make hatches lenses lats longer as well add little shade in Texas sun.
 |
| Hatches covers. |
Interior
Hatches
Another compromise. When I installed for hatches frames I planned to make insert frames to cover gap between ceiling trim and hatches. Unfortunately, I had a lot of other things to do and they sill not be finished. Actually to put trim I need to make new trim frames around hatches wells, but i decided to leave it for future, but gap between lest unfinished rough fiberglass, so FOR now i decided just paint it to make it not so sore for eyes. It is only first layer of plaint on the picture. Second was added at the next day.
 |
| Hatch from inside |
Fixed windows trim.
Before start cutting real wood (teak) I have made two templates with 20mm and 30mm corners radius to dry fit shape to actual windows. Dry fit went well frame shape with 20mm radius corners fits well. going to cut trim corners out of wood.

 | ||
| Fixed windows, rubber washers under screws. |
Cabin table
After testing me and Maria found the table is little bit low when it is lifted up.
I made and added more spacer plates to add height when it in up position. Now it should be enough I added another 1.25" there. And table is still be able lowered to be a bed base.
 | ||
| Lifting table |
Short video showing transformation.
Shower
Shower control added. Who likes the first 5-10 seconds of cold shower when hot water have to fill pipes from water heater to shower head. And what we do with this cold water? Usually, just waste it to drain. But on the boat each drop of fresh water is on the count. To save water i made recalculation cycle from the hot water pipe back to tank to discharge cooled water from the hot water pipes back before start using hot water.
 |
| Shower controller installation |
 | |
| Shower installation |
 |
| It works! |
Comments
Post a Comment