Windlass
Windlass installation on Irwin Citation 34 '78

Starting point- windlass
I am not very young and pulling even 25lb CQR anchor + chain is not very easy task for me, a specially if I am planing to sail almost single-handed.
I found pretty good for money $150) Lewmar Pro 700 Windlass bones.
Parts were replaced: all bearings and seals, made new motor lid (original was destroyed by corrosion. Looks like previous owner sealed drain hole and windlass get half filled with salt water. I had to replace brush springs in the motor and compound gear due to it was in very bad condition.
Also body was polished to mirror like surface and then passivized.
Image from e-bay
Initial state of motor.
Beside mounting "ears" destroyed and brushes springs rotted completely, bearings rattling crazy motor was in working condition :-)
Cutting new lid on my homemade plywood CNC. One side is done.
Motor installed back to place.
2 years later I get to point to install it.
Bow roller
Original "bow roller" does not fit ANY anchor, and looks more like joke for 34' boat, in best case you may run some rope over it for lunch hook, nothing more.
5/16 chain not fit any way.
So, I decided to cut one plate from starboard side and install real bow roller able to accommodate my 25lb CQR and 5/16 chain.
Side plate removed and roller dry fitted. Will need to add spacer plate on aft side of the roller.
Windlass mounting
Modelling chain pathway to install windlass in right place.
The very first windlass mount prototype
Second one dry fit , appeared i need to move windlass 2" to port
I decided do not spend time to make mold and build mount from inside - out.
Final build plywood core set of plates using exterior and marine plywood.
Design simplified.
Set of 2 layers of 3/4 and 2 layers of 1/2 inch plywood cut on CNC
Links to design files
All parts epoxied together, holes filled with thickened epoxy and drilled back.
Fillets routed and filled.
3 layers of CSM, then 2 layers of 1708 and CSM again, pictures after f3 CFM was placed.
All glassing finished and mount sanded to shape.
To make interface surface to windlass completely flat i plan to make it from G10 pre-fabricated laminate. plywood on top is a check cut the shape from plywood.
Second reason to get it little up to provide access to gears and motor w/out removing windlass body from the boat.
Dry fit, looks good
After that step i stop to use resin and switch to epoxy.
After a lot of thinking how to join mount and deck I made decision to bolt windlass mount to chain/anchor locker.
Way of thinking:
Load
to windlass would not exceed it Max pull capacity * safety factor
(lets say 2). Pull capacity 300 kg so load to mount will be below 600kg.
6 of 3/8 bolts will be absolutely overkill to keep it on place,
however chain locker made from ~8mm solid fiberglass and I need to distribute
load, backing plates will be required. Bolts will prevent to slide mount in up direction only. Main
shifting load will be sustained by locker frame due to it's wadge shape. But,
due chain will come about 4 inch higher than plane of mount it will
result in lifting up aft side of the mount plate. I would estimate
maximum about 1/2 of main force to try overturn plate.
Due to 2
bolts on each side load will not estimate more than 300 kg force shear
the bolt. From other hand FG laminate may withstand 1000-2500Mpa. With 8mm thickness and 3/8" bolts section is 0.00004m2. even at 1000 Mpa it
gives strength about 40KN -> about 4 metric tons per bolt. So, we should be
good :-)

I decided to use existing chain locker as a mold to make
mounting plates. Pates will have exact matching surface to locker walls
to distribute load equally.
I masking taped the
area and covered locker surface with PVA mold release, then glassed 2
layers of 1708 to walls and went all way to the top of the mount.
General mounting plates build idea here.
2 layes made.
Note. Epoxy brown due to i use pretty old fast hardener which got iron ions from the can. Should not be the laminate strength issue according to West systems.
Mount semi-glassed to hull.
Then released to continue build-up.
Top interface plate added to mount using epoxy.
2 more internal layers of mount plates done.
Fairing the surface (mostly adding layer to be sanded)
Final look after priming and painting with Interlux perfection paint. (same as all deck done). Mount is ready for install.
Windlass dry fit again.
Dry fit mounting on the boat.
Chain locker
Originally I decided to put 60 ft of chain and rest rode do with rope, but when i went for chain shopping I found the 90ft (manufacturer bucket) is actually cheaper than 60ft (piece cut). I went with 90 ft. Now, I may have full chain rode on water up to 10 ft, which sounds cool.
However windlass requiters at least 10 inches free drop after gypsy. My IC34 had depth of chain locker maybe 12" which is definitely is not enough.
I had Two options.
1) Cut hole in the existing chain locker and build watertight bulkhead and use whole volume as chain locker.
Pros:
- Big - really big locker where I can put a lot of chain ;)
- Keeping chain low in the hull.
- I get "crash" compartment which will be very useful in case of collision and hull penetration in bow area.
Cons:
- No way to self drain. I will need to add additional pump or drain "chain" water to main bilge and use main bilge pump for it. What is not my favor.
- Compartment
appears really big, a would estimate 30-50 gallons maybe more. I am not sure I
want to have so big volume which eventually may be filled in seconds
with wave crashing on the bow ( a specially if chain locker lid get
opened for some reason.
- To use the area for chain, I would like
to reinforce hull sides to provide better impact holding. It means I
will need to lay glass hanging almost up side down in confined space. It
have to be at least 6-8 mm additional glass, so a lot of glassing
- Other issue - if I reinforce the area I will make hard spot on the hull and likely may make additional problems.
2) Cut hole and build 6-8 gallons bucket big enough to receive whole chain
Pros:
- Could be made de-touchable to be able to bet better access to bow section
- Smaller volume will not be able to take a lot of water even if filled full with water
- Much more comfortable to build
- Much better internal surface if build on mold
- Hard to measure and build box good fit to place
- Do not compromise hull.
- We may leave v-berth bow door on place and have access to below area.
Cons:
- Smaller, can may take less chain.
- Higher gravity center point.
- will need to close original hole and make new drain thru hull.
Decision
1) Go with second approach, build hanged out of deck self draining chain box.
2) Try to do it removable (at least easy to cut out if needed).
3)
Go with glassing existing bulkhead to glass existing wood bulkhead to
make it watertight up to water level. (door stay on place). Mostly to
provide some protection in case of bow collision/penetration.
Hole is made.

Wood planks template for the box to take dimensions right.
Io make box removable I need to have tight "interface" to existing walls.
I did template using existing chain locker as a mold.
template removed from mold
Other decision, how to build? make mold and or not. Essayer to make it and then have a nice internal surface. Mold has to be 10mm smaller than place where box will be installed. I built mold prototype from plywood and dry fit it to the cavity. Looks my measurements was not to far off reality.
Link to on-line folder with 3d model, pdf "paper drawing" and dxf files if you want to build mold exacly like i did and use CNC or laser cutter to make panels for the mold.
Cut panels and assemble box.
The box, how it should look. Do not forget use masking tape or little of hot glue to keep box together before you glue it.
Dry fit it on the boat and add front and aft piece (using hot melt glue) to make surface angle the same as your chain locker front side and floor.
Do not forget to insert 1/4" pieces of plywood to represent fiberglass during dry fit.
After dry fit and finishing mold shape. Glue all together from inside using thickened epoxy. Make wide fillets inside.
Sand external corners to make smooth transition.
cover mold with 3/4 layers of epoxy sand it and do final coat.
Finished mold. all corners filleted, surfaces are glazed. At the last moment I recalled I need to have dip on the bottom to install drain. It is not on the pictures, sorry.
Wax all mold surfaces and/and cover with several layers of mold release.
Then, I over-glassed mold 4 layers CSM and 3-4 layers of 1708. Just pulled from mold.
I did "wet" fit on the boat and mean pre-attached "interface" with thickened epoxy spots to the box on place. Diving box back to the garage to inject thickened epoxy in between box and interface, and cut flange to dimensions.
Gap is injected with thickened epoxy.
Box is ready to be installed
Box installed, gap sealed with 3M 4000UV. (sealant put on box, then box inserted to place and excessive stuff cleaned). Mechanically box mounted on 9 bolts. In case, if i need to remove it, I hope, I will be able to pull it out of there.

Chain locker drain
Due to chain box appered dipper than original chain locker I had to move grain about 5" lower than original thru-hull was there.
Grind area around old openning 12:1 slope, then put 7 layers 1708 to get the same thickness as original laminate, laminated starting lay glass from small to large piece.
New drain installed. this drain is about 2ft above the water, no pressure inside. I am pretty ok to have transparent thick wall PVC hose there. Hose was heated to be very soft and then shaped to place. As soon as we above water line, installed one clamp.

Check box dimensions with 90 ft of 5/16 chain. Still have space about 15" above the chain surface.
Bow roller again.
Bow
roller installation at 100F weather was a challenge call itself. Main
problem was that i had to disconnect fore stay to be able to drill and
tap thru the bow plate to install the roller.
Roller mounted with two screws at back and one at front.
As
soon as front screw maintains only side load and no way to put
nut from below I tapped bow top plate and put screw in it.
Back
screws are drilled thru the bow top and nuts are from the below with
big washers. also I added SS plate the same thickness as bow plate in
between deck and roller to align surface because front of the roller sit
on bow plate, and back is in the fiberglass. I wish to have backing
plate but there two reasons to put just wide washers. First surface
from below is not equal, and it has kind of bump on middle what will
make stress point and make installation with back plate put all stress
on small area. Second reason the windlass can make only 600lb of
force and the area loaded should be not too small for this load.
I
still considering to add woodblock to very aft mounting holes and put
couple bolts there as well. After painting will be done. Now the end is in the air and does not look like finished product.
Windlass mount installation
Dry fit of windlass mount
Mount installed on 6 bolts 3/8. From inside I put 1/4" SS backing
plates with threaded holes to make work easier due to back side of the
chain locker is a very hard to reach.
All sealed with butyl tape.
Holes in original chain locker box i made right to size of the bolts
and countersinked. holes in windlass mount are oversized to let butil to
come around the bolt. during installation I put excessive amount of
butyl on the bolt neck and then compressed into the hole with wide
washers.
Mounting bolts from exterior.
And from inside. For the back plates i used old chainplates pieces.
Plates are glued from inside to make work to screw bolts by one person
easier (possible).
Make chain locker hatch cut template
Hatch
cut and fitted to place. Next is re-glass the core was opened during
cutting, repair cracked cross member on the back side. Likely will cut
hatch on two parts, one - front part, will be mounted on screws, and aft
part will be a hatch. For some strange reason chain locker hatch has no
latch at all.. I am going to add one.
Windlass installation
Windlass installed on the place. I did 3 test runs - put anchor and all
90' chain down in 50' depth (i understand that 30' was lay on the anchor
on the bottom) but it sound ok for today test. I pay out whole chain
and pull it up. So far all works well, bucket takes all chain in w/o my
intrusion. One time I unintentionally "caught" dock structure and try to
lift a dock (or sink a boat:). Without willing I have checked windlass on full load. Windlass,
mount and roller survived ;-)
Final view. Looks like it was a part of original design.
Electric side
I decided to use dedicated battery for the windlass.
Why?
- I have nice 55AH AGM battery on hands.
- 15-20' shorter wires between battery and windlass.
- Even if I deplete it completely I will be able to start engine and have energy for house.
- I always may use other energy sources to recharge windlass battery.
- Always nice to have spare battery on board.
So,
windlass electrical system looks like: Battery - 50A breaker (on
positive) - Shunt (battery monitor, on negative), Winch solenoid relay
(4 pole relay). Solenoid controlled by remote control block (12 Custom Wireless Remote Control Switch 2 CH 433Mhz ). To "Marinate" module covered electronic board with polyurethane conformal coating and I Mounted it in hermetically closed box.
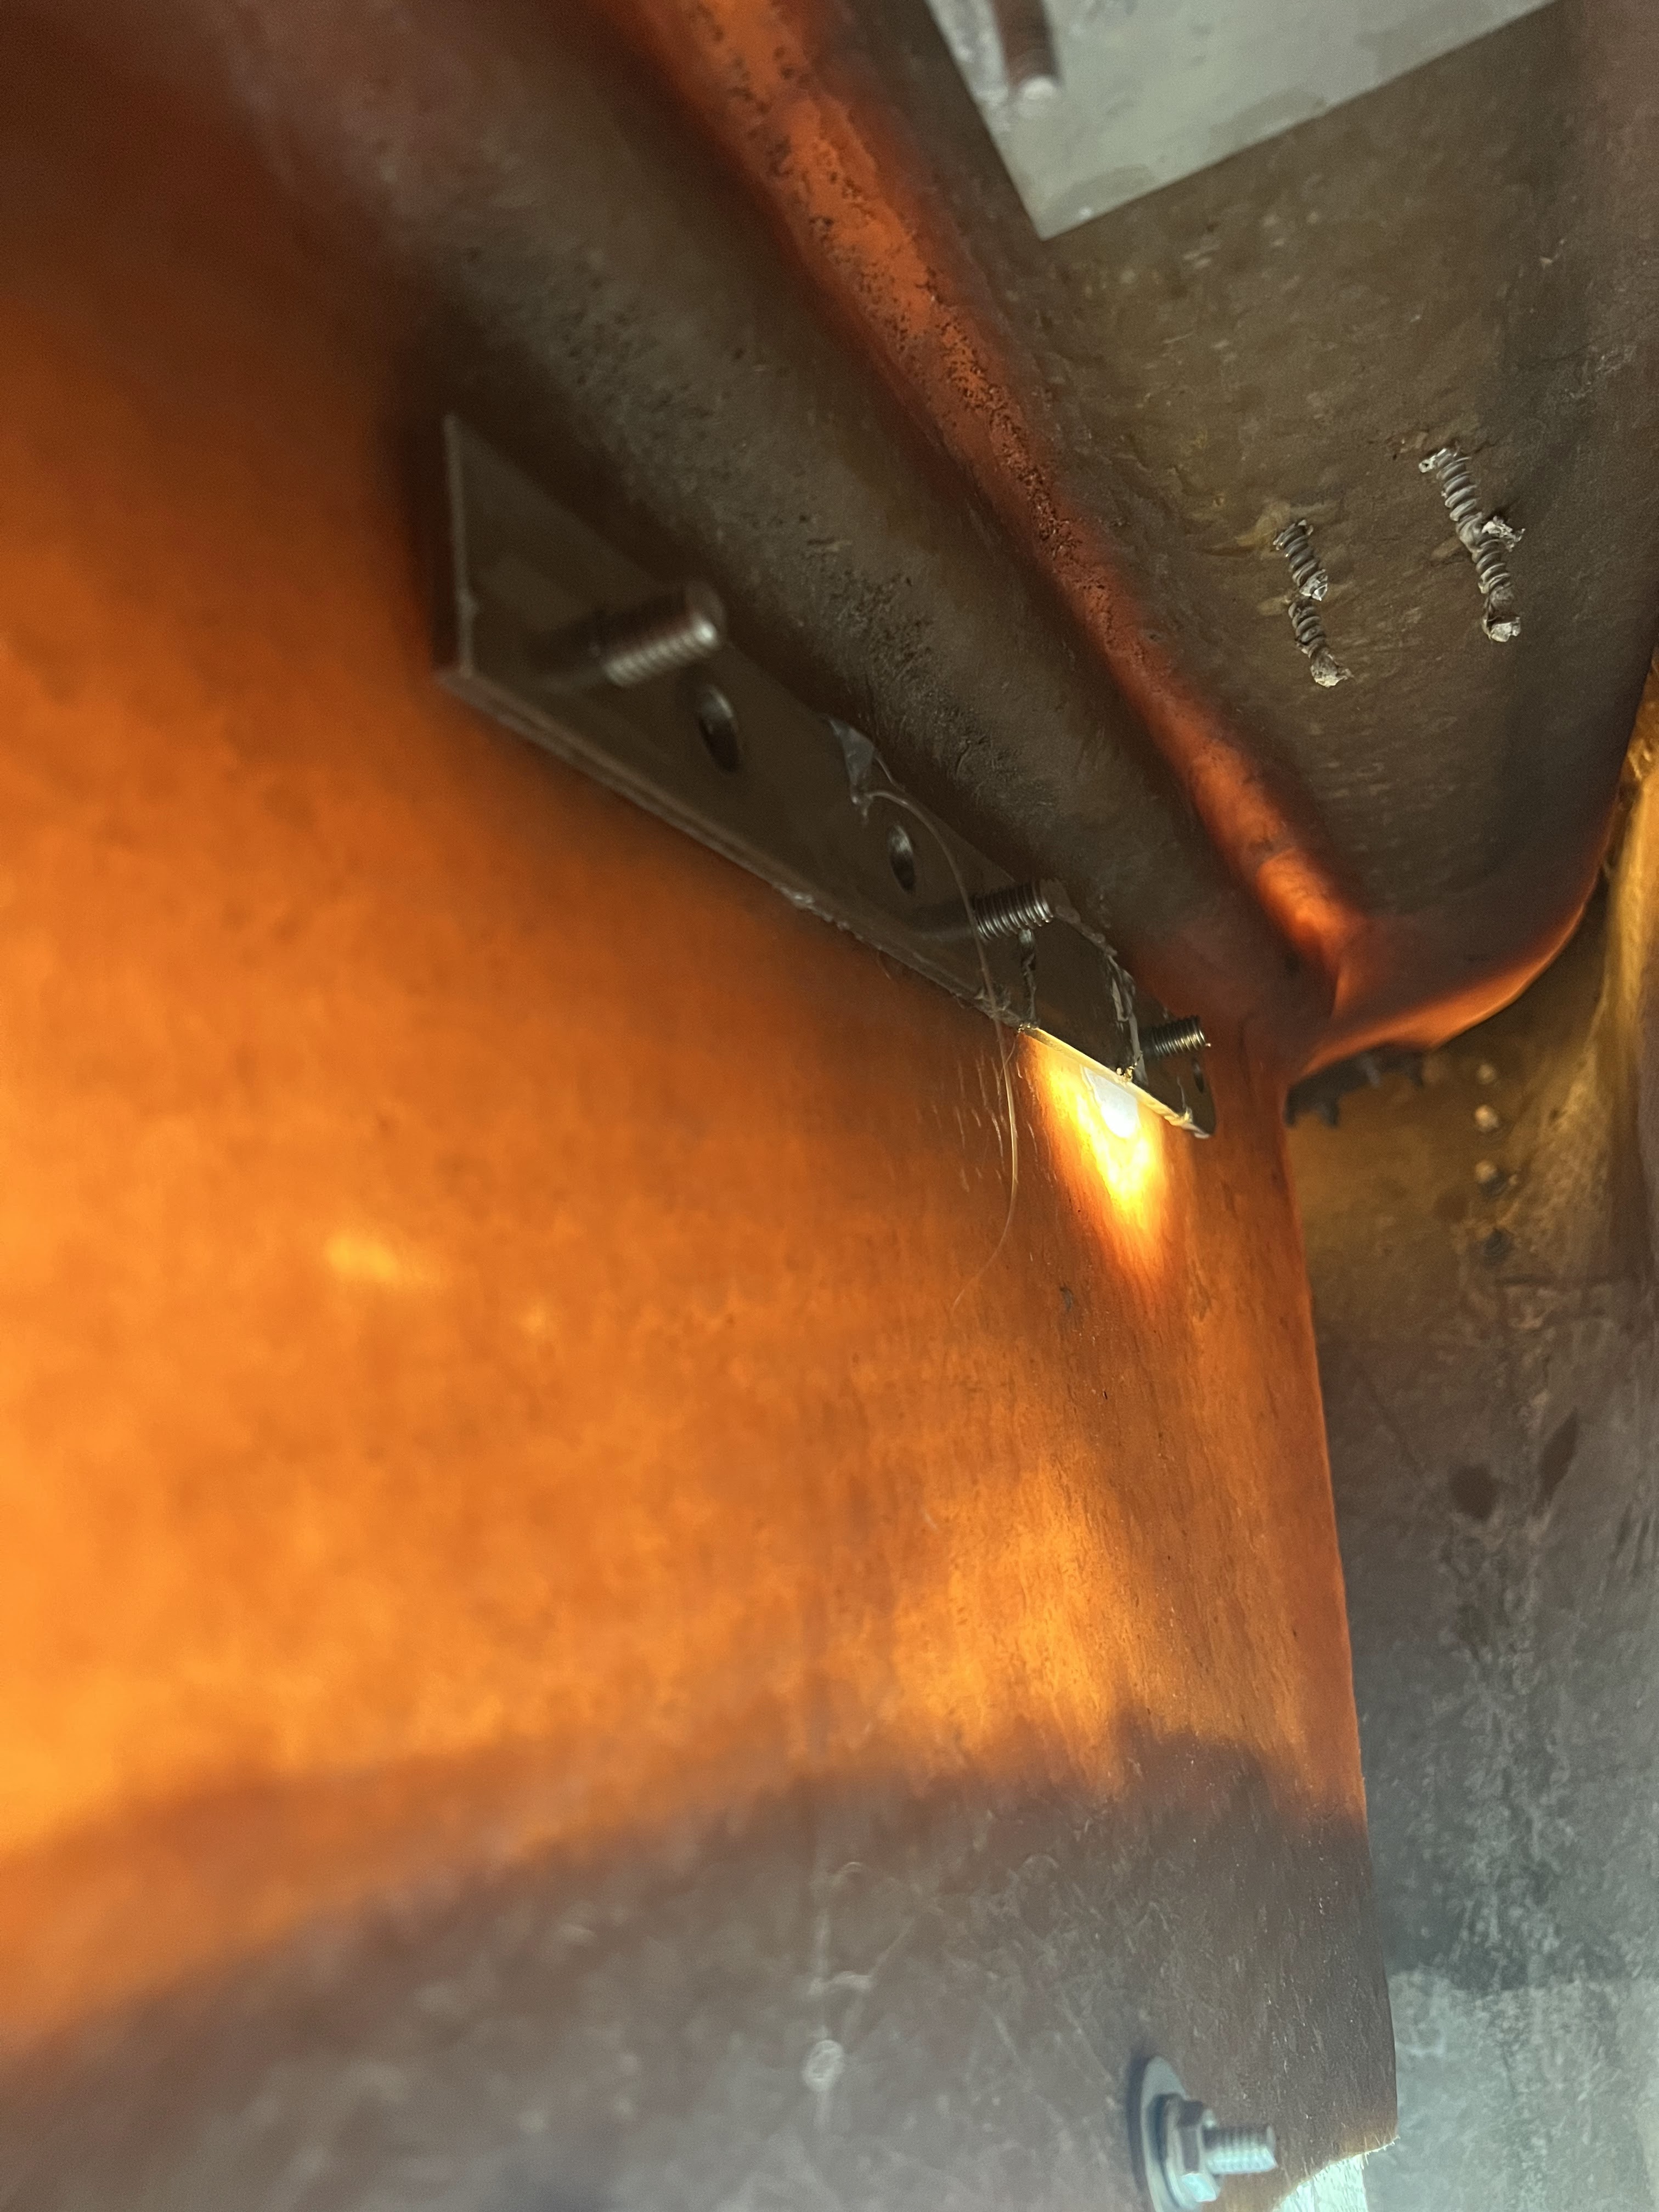
Control electronics installed to place. Back plate glued to hull with Epoxy and 404 filler.

Battery will be installed on starboard side under v-berth. Mounting
shelf template made. Will install it next week. For now, battery just
lay down on the bottom. Breaker will be mounted inside the cabinet. Also plan to use it as battery switch in the cabin.
Temporary "Dry fit" electrical check.
Final Images
Deck painted, foot buttons installed, anchor connected and put on the roller.


 Box is ready to be installed


Comments
Post a Comment